

Use Custom Sender to send review emails from your store's email address, such as [email protected]. Custom Sender is included with Plus and Everything plans.
Until you set this up, Reviewbird uses your store name with an address such as [email protected].
Set your sender address
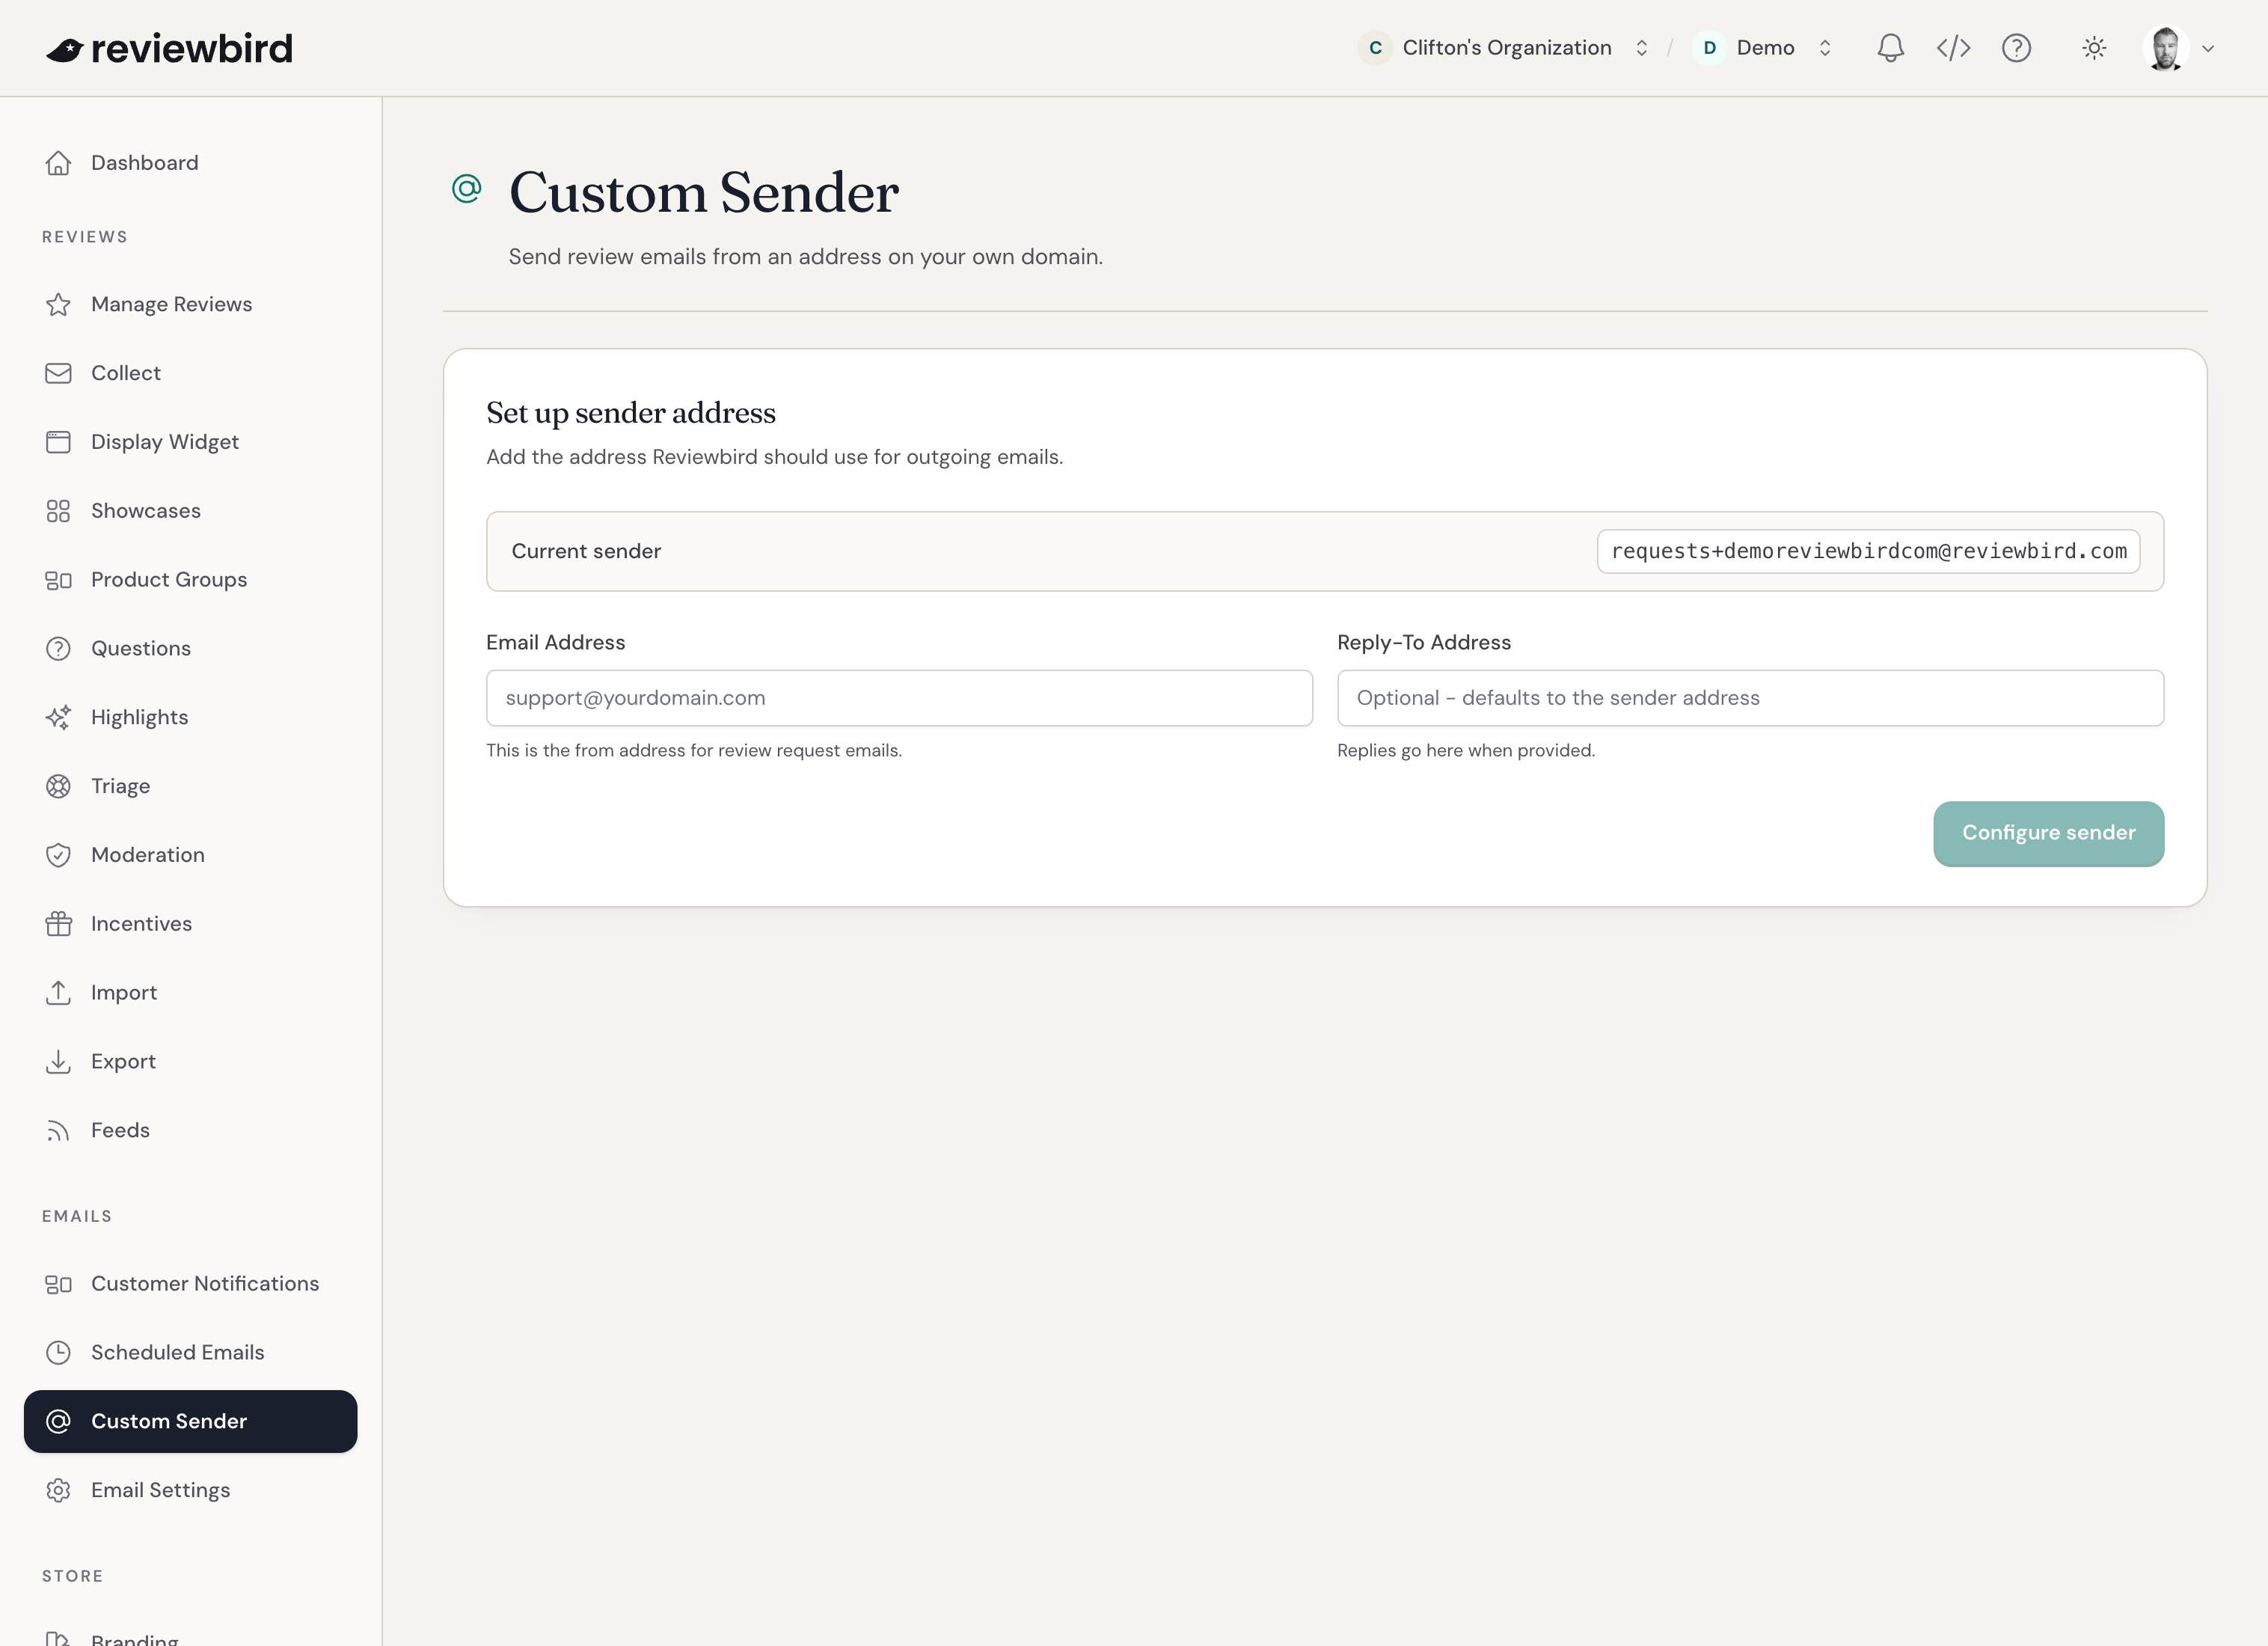
- Open your store dashboard and go to Emails > Custom Sender.
- Enter the Email Address you want customers to see.
- Enter a Reply-To Address if you want replies to go to a different inbox.
- Select Configure sender.
Choose an address with an inbox you can open. You will need to confirm that you can use it. If you leave Reply-To Address empty, replies go to the sender address.
Confirm your email address
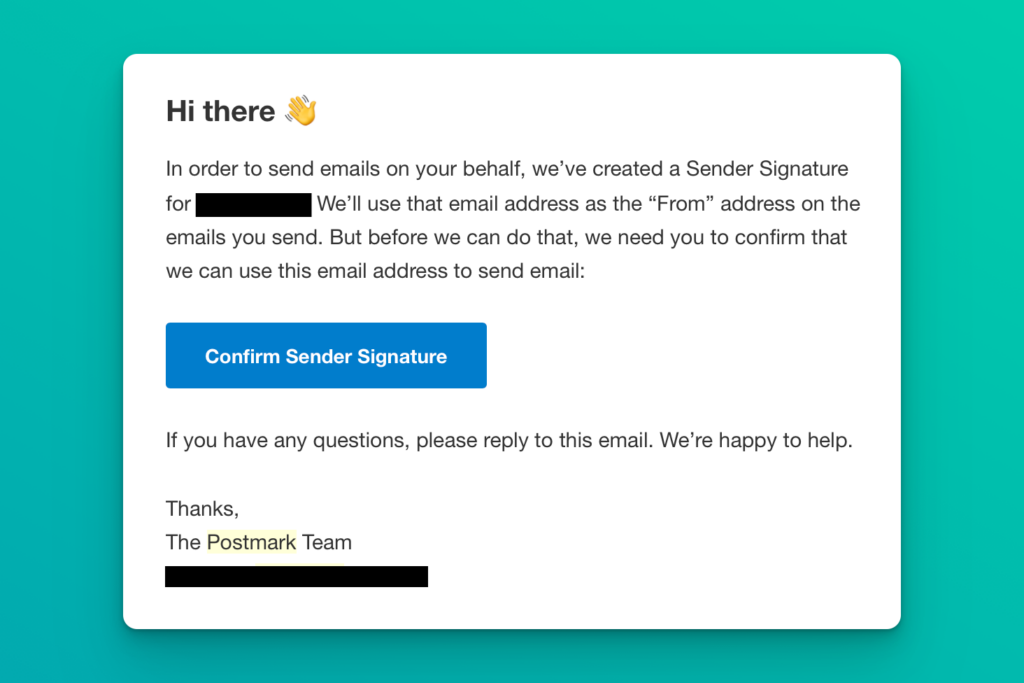
Look for a confirmation email from Postmark, the service Reviewbird uses to send emails.
- Open the confirmation email in your sender inbox.
- Follow the confirmation link.
- Return to Emails > Custom Sender.
- Select Refresh status.
When the page shows Ready to send, Reviewbird can use your address.
Send a test email
- On the Custom Sender page, select Send test email.
- Enter the address that should receive the test.
- Select Send Test Email.
- Check the sender name and address in your inbox.
Collect will now use your Custom Sender for review requests. Open Collect > Review requests and select Edit message to preview or test a request email.
You can also choose the Order follow-up layout for the first product review email. This layout includes a text link to leave a review, and lets you edit the sender name and reply address. See Automatic review request emails and reminders.
Verify your domain
After you confirm the email address, you can also verify your domain. This helps email providers recognize that Reviewbird has permission to send from your store.
This step needs access to your domain's DNS settings. If someone else manages your domain, send them the records shown in Reviewbird and ask them to add the records for you.
- Open Emails > Custom Sender.
- Select Show DNS records.
- Copy the host and value for each record.
- Add each record in your DNS provider's settings, using the record type shown.
- Return to Reviewbird and select Refresh status.
The DKIM record is a TXT record that confirms permission to send from your domain. The return-path record is a CNAME record used to handle email delivery. DNS changes can take up to 48 hours to appear.
Frequently asked questions
Do I need both email confirmation and DNS verification?
No. Either email confirmation or DKIM verification lets Reviewbird use your sender address. We recommend DNS verification because it can help your emails reach customers' inboxes.
What if the confirmation email has not arrived?
Check that the sender address is correct, then select Resend confirmation on the Custom Sender page.
Why does the page still say Verification needed?
Select Refresh status after you confirm the email address or add DNS records. DNS changes can take up to 48 hours. Reviewbird needs completed email confirmation or DKIM verification before it can use your address.
Can an Order follow-up email use a different sender address?
Yes, after DKIM verification. The other address must use the same domain as your Custom Sender. Without DKIM verification, use the exact address you confirmed.
How do I go back to the default sender?
Open Emails > Custom Sender, select Remove sender, and confirm with Remove Custom Email. Reviewbird will use its default address again.
If you have an Order follow-up email, Reviewbird uses the Standard layout until you have a verified Custom Sender again.
What happens if I change to the Starter plan?
Reviewbird uses its default sender address. Order follow-up emails use the Standard layout. Check the preview and send a test after you change your plan.